
How to Grow Microgreens
- Deb Carr

- Jul 31, 2018
- 3 min read

Microgreens are the tiny seedlings of herbs, greens and some vegetables. You may have grown sprouts in your time which are very good for but for a concentrated nutrient source microgreens pack a powerful punch. And the good thing is they grow fast! So read on how to grow microgreens at home.
Often used as a garnish in restaurants, microgreens can offer a constant supply of home grown 'mini vegetables' all year round and the good news is they can be grown indoors no matter where you live. And, there really is something highly rewarding when you pick your own crop of home grown greens; it is like having your very own mini farm to plate going on! The difference between microgreens and sprouts is that you only eat what grows above the ground, whereas sprouts you eat the root and the shoot.
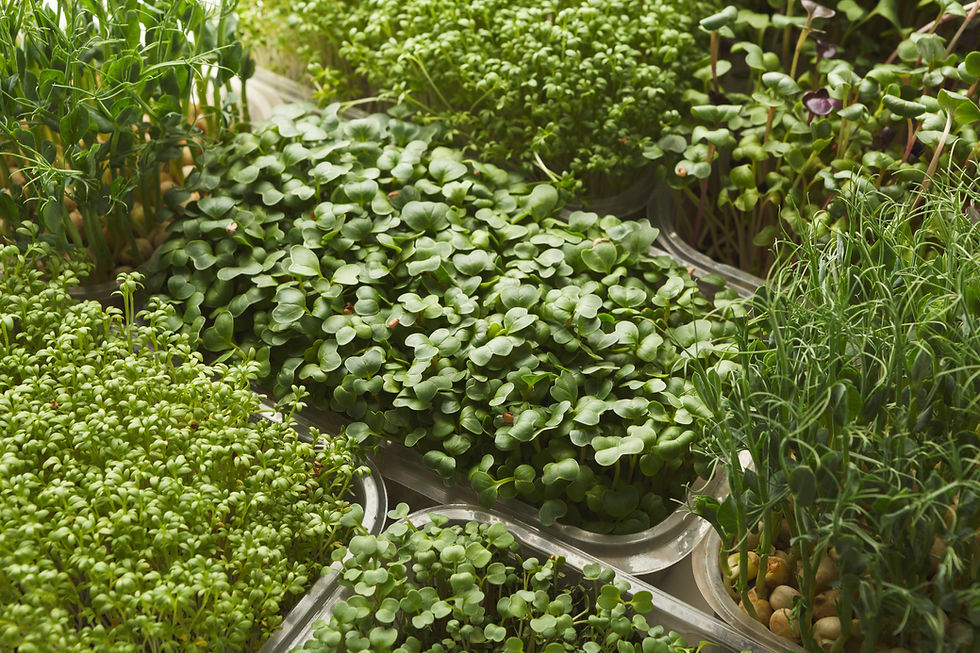
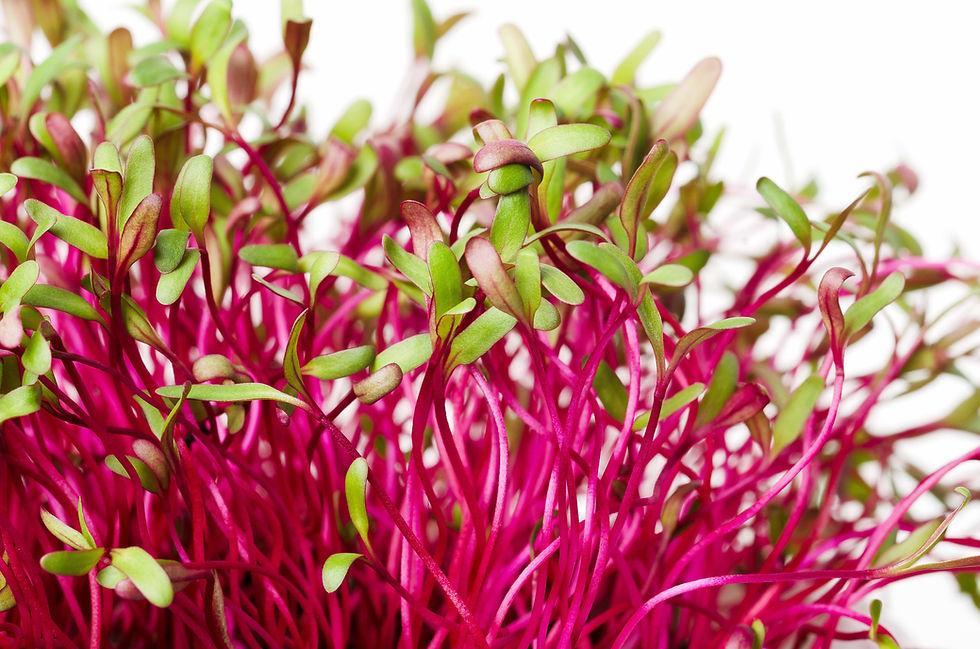
In a nutshell, microgreens are the seedlings of vegetables such as kale, lettuce, spinach, radish, beetroot, buckwheat, cabbage, herbs, sunflower etc. As well as used for garnish these little greens are full of nutrients although they won't give you the fibre you need as full grown vegetables so use them as part of your overall meal planning. They can also be added to smoothies to add more nutrients.
Microgreens can also give quite an intense flavour despite the size of the seedling. As well they are colourful and great to add as a final touch to a lovingly prepared meal. Even the humble boiled egg can be enhanced with a sprinkling of microgreens.
You can buy kits to grow your own microgreens or you can make up your own.
HOW TO GROW MICROGREENS
You will need:
A shallow tray, or pots. I recycle little plastic tubs. You can even use egg cartons.
Organic potting mix or seedling mix - avoid using garden soil it's too heavy
A misting bottle
Micro seeds like these
A grow light or a sunny spot on a windowsill. Or you might consider a mini greenhouse if you have room outside.

In winter if you don't have the light coming in the window you may have to install a grow light which you can put in a cupboard or on a shelf. I like to grow my microgreens on my kitchen windowsill but I don't get the sun in winter so an artificial light has to be my option. You could also try outdoors if you have an area that is free from frost and is sunny through winter but not all day direct sun in summer.
Fill your planter with a good quality organic potting mix. You can use aluminium trays for this or any shallow container. You should grow a few different sorts at the same time.
Soaking your seeds overnight is a good way to speed things up but they do get a bit sticky and harder to spread. Planting the seeds close together is great because unlike conventional vegetable gardening, these seedlings will be harvested in their youth. In fact, in only a matter 2-3 weeks.
Once you have sown your seeds cover them with a thin layer of the soil and using a misting bottle spray the seeds until they are wet.
Keep spraying the seeds 2-3 times a day and in a couple of weeks (sometimes longer) you will be harvesting your crop. To have a crop always on hand, space out when you sow your seeds over a number of weeks and keep adding a new crop each week.

Growing your own microgreens is easy, fun and good for you.
Cut your microgreens as you need them. For a detailed lesson check out Peter Burke's Year Round Indoor Salad Gardening.
Now there is no stopping you growing your own mini garden, even if you live in an apartment!


Comments